-
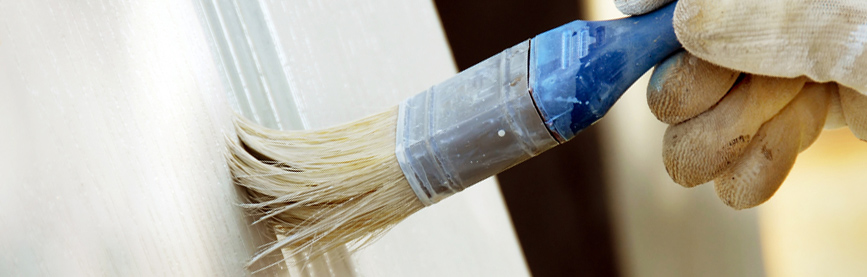
Choosing the right kind of paint or varnish
Many different kinds of paints and varnishes are available for indoor and outdoor use:
• Water-based paint (acrylic)
• Paints that is thinned with turpentine substitute (alkyd)
• ‘High solid’ paint, which gives a better coverage
• Polyurethane paint (PU): 2-component paint that is used with acrylic or alkyd paint. This kind of paint is harder and more durable.
• Varnish: a transparent coating that seals the wood and protects it against damp and UV radiation. Varnish gives a smooth finish that is easy to clean. -
Applying a new top coat or stripping completely?
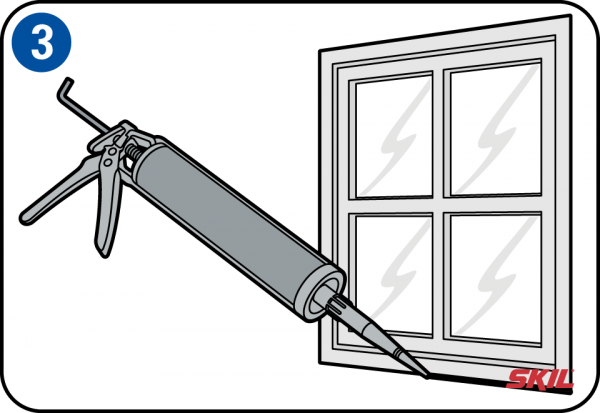
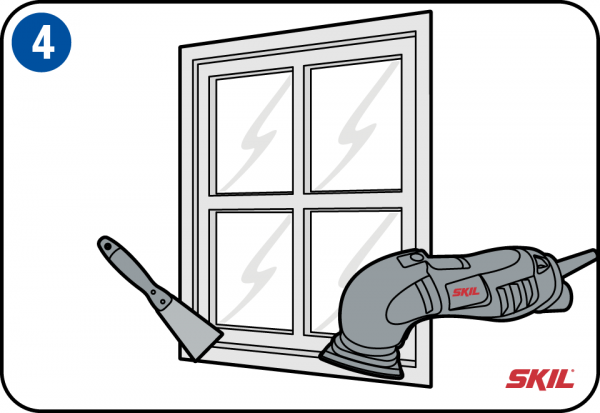
If the painted surface of existing window frames is weathered, you’ll need to first sand them and remove all dust before applying a new coat of paint. Fill any small irregularities if necessary. But if the existing paint is badly damaged, or if you want to use a different kind of paint, you’ll need to strip the surface completely. You can do this by burning the paint off with a heat gun, by using paint stripper or by sanding.
-
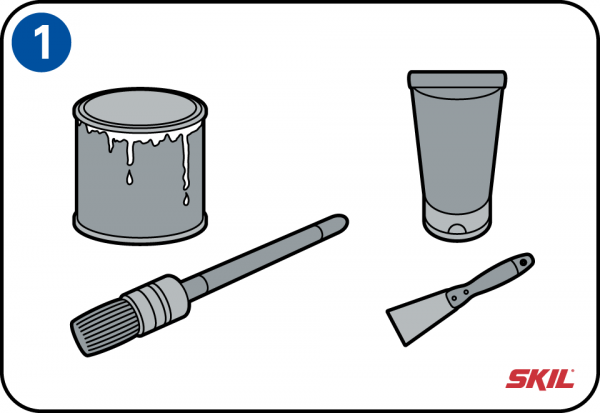
Check for holes and splits
Before you start to paint, it’s a good idea to check the joints between the window frame and the wall carefully. Over time, gaps and splits are great places for collecting dirt and moisture. So clean them out thoroughly with a vacuum cleaner or brush, and fill them with the same kind of filler used earlier.
-
Primer
For better coverage and adhesion of the finishing coat, first apply a coat of good primer. After drying the wood fibers may be raised, so sand these smooth with fine sandpaper (grit size 220 or 280). Always sand in the direction of the wood grain. Fill all gaps and irregularities with filler and sand smooth, and then clean and remove dust thoroughly.
-
Starting to paint
If you’re using new wood, first check it for traces of resin and if necessary remove these. If you don’t do this then the acid they contain will later attack the paint. Then degrease the wood. Hardwood contains more oil, which initially makes it more difficult to apply a good paint coat. If that’s the case, first apply a coat of good primer.
-
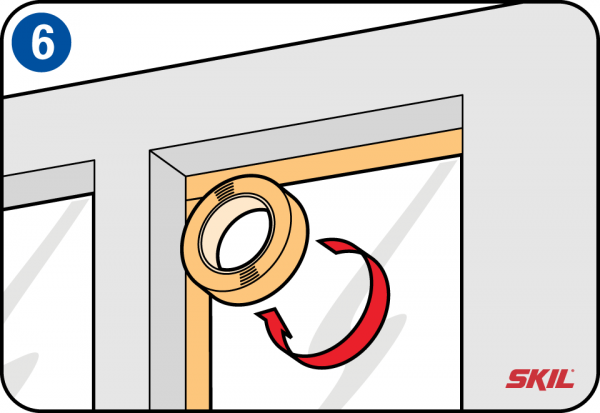
Masking
It’s best to apply masking tape to the window glass. This takes a bit of time, but you can then paint a lot more quickly and you’ll get a neat, straight finish. Note: remove the masking tape immediately after painting, as otherwise you may pull some of the paint off with the tape.
-
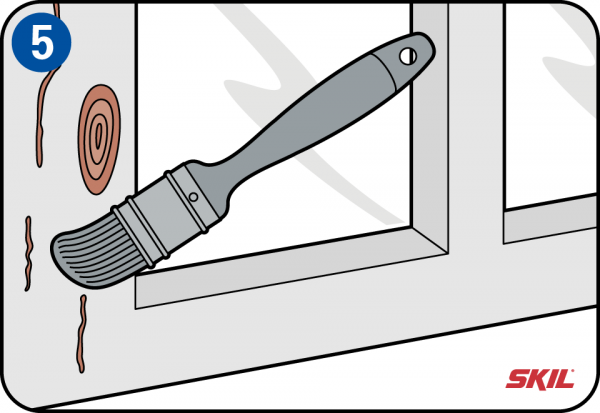
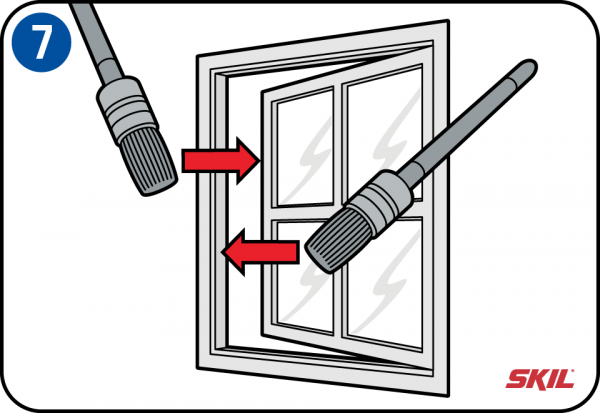
Applying the finishing coat
Work from the inside to the outside of the window frame. Open the window and first paint the inside. Start with the horizontal parts of the frame, and work from bottom to top. Then paint the vertical parts. Almost close the window and paint the edges of the frame. After that paint the whole window frame, working from top to bottom.
-
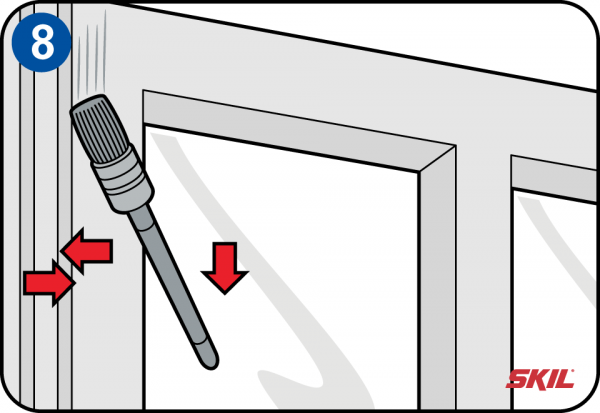
Smooth out the paint for an even thickness
When painting, always work from bottom to top, with plenty of overlap between the brush strokes. After you’ve finished, carefully smooth out the overlaps between the brush strokes to ensure an even paint thickness and prevent runs.